· 6 min read
WordPress, the automated way (part 1): setup
Automate WordPress installation, configuration and deployment with Docker. Plugins will be automatically installed, MySQL initialialized, admin user created by default, just by running one command!
That good old WordPress… When you are coming from modern PHP frameworks’ world and their good practices, it looks quite antique on a technical point of view. But still, it can be a good choice from a user point of view thanks to its easy to use interface and it is – surprisingly – flexible.
To integrate WordPress in some of my clients projects, I tried to apply good practices and to automate things as much as I could.
This first article will focus on the setup of a WordPress project. What we want to do is to turn the official Famous 5-minute installation of official WordPress documentation into a 10 seconds installation (download time not included 🤓).
We will create 2 commands that installs everything in an automated and non error-prone way:
make wordpress_install
make wordpress_configure
And voilà! Your Wordpress blog will be up and running, all configured with no click whatsoever!
🐙 All the code mentioned in this article can be found on https://github.com/michaelperrin/blog-wordpress-management-demo
What a normal WordPress install looks like
…boring actually 🤯 These are the steps from the official installation guide:
- Set up and run a MySQL server and a web server with the correct version of PHP.
- Create a database by yourself.
- Download WordPress from its website.
- Unzip it somewhere (Composer, where are you? 😓)
- Rename and edit a configuration file manually with your information (hello
wp-config.php👋). - Run the website in a browser for the first time and click around to configure a default user, the website title and other information.
- Download and activate language files.
- …
Let’s automate all these steps for the following benefits:
- Make installation and updates predictable.
- Keep history of project setup.
- Avoids lengthy and non-updated README files to setup the project (“click here, click there, enter this information”).
- Make project easy to install in any environment, including local ones #developerexperience.
- Non error-prone updates: let’s say you added and configured (with clicks, again) a new plugin in the staging environment. These steps will need to be done again in the same way on the production server.
- More cloud friendly: a WordPress container can be built in a repeatable way by your continuous deployment server and deployed anytime (beware of assets that need to be hosted outside, like on AWS S3).
Tools we are going to use:
Setting up containers
PHP, MySQL, Nginx stack
The first step to automate things is to setup Docker containers for WordPress.
First, configure Docker containers to manage your WordPress instance. The structure will look like this:

Create a docker-compose.yml file at the root of your project and define 3 separate containers (one for PHP, one for MySQL, one for Nginx):
version: '3'
services:
  wordpress:
    image: wordpress:5.2-php7.3-fpm-alpine
    depends_on:
      - wordpress_database
    volumes:
      - wordpress_data:/var/www/html

  wordpress_database:
    image: mysql:5.7
    restart: always
    volumes:
      - db_data:/var/lib/mysql
    environment:
      MYSQL_ROOT_PASSWORD: my_root_password
      MYSQL_DATABASE: wordpress
      MYSQL_USER: wordpress
      MYSQL_PASSWORD: my_wordpress_password

  wordpress_webserver:
    image: nginx:1.14-alpine
    depends_on:
      - wordpress
    volumes:
      - ./docker/wordpress/nginx/app.conf:/etc/nginx/conf.d/default.conf:ro
      - wordpress_data:/var/www/html
    ports:
      - 80:80

volumes:
  db_data: {}
  wordpress_data: {}
Nginx configuration
Configure the WordPress virtual host for Nginx. This if very much like the Nginx official recipe for Wordpress:
docker/wordpress/nginx/app.conf
upstream php {
  server wordpress_php:9000;
}

server {
    root /var/www/html;
    index index.php;

    location = /favicon.ico {
        log_not_found off;
        access_log off;
    }

    location = /robots.txt {
        allow all;
        log_not_found off;
        access_log off;
    }

    location / {
        try_files $uri $uri/ /index.php?$args;
    }

    location ~ \.php$ {
        include fastcgi.conf;
        fastcgi_intercept_errors on;
        fastcgi_pass php;
    }

    location ~* \.(js|css|png|jpg|jpeg|gif|ico)$ {
        expires max;
        log_not_found off;
    }
}
Automate WordPress install
We could download WordPress from its website, unzip it in the wordpress folder of the project. But wait! This is all we want to avoid! So now let’s automate everything (as if we were using Composer).
Create a toolbox container
Let’s create first a Docker container that will contain tools to automate things. This is the updated structure:

Edit docker-compose.yml and add a new wordpress_toolbox container:
services:
  # ...

  wordpress_toolbox:
    build: ./docker/wordpress/toolbox/
    volumes:
      - ./wordpress:/var/www/wordpress
    working_dir: /var/www/wordpress
    depends_on:
      - wordpress_database
    environment:
      WORDPRESS_LOCALE: fr_FR
      WORDPRESS_DB_HOST: wordpress_database
      WORDPRESS_DB_NAME: wordpress
      WORDPRESS_DB_USER: wordpress
      WORDPRESS_DB_PASSWORD: my_wordpress_password
      WORDPRESS_WEBSITE_TITLE: 'My blog'
      WORDPRESS_WEBSITE_URL: 'http://localhost'
      WORDPRESS_WEBSITE_URL_WITHOUT_HTTP: 'localhost'
      WORDPRESS_WEBSITE_POST_URL_STRUCTURE: '/%year%/%monthnum%/%day%/%postname%/'
      WORDPRESS_ADMIN_USER: 'admin_user'
      WORDPRESS_ADMIN_PASSWORD: 'admin_password'
      WORDPRESS_ADMIN_EMAIL: 'test@example.com'
I defined a lot of environment variables here that will used in the next scripts. This is really useful as you could change the variable values depending on the project environment (local, staging, production, etc.).
Add a Dockerfile for the toolbox:
docker/wordpress/toolbox/Dockerfile
FROM php:7.3-cli-alpine

RUN apk add --no-cache curl
RUN apk add --no-cache make

# Install WP-CLI in the toolbox
RUN curl -O https://raw.githubusercontent.com/wp-cli/builds/gh-pages/phar/wp-cli.phar
RUN chmod +x wp-cli.phar
RUN mv wp-cli.phar /usr/local/bin/wp-cli

# Install MySQL extension, as WP-CLI needs to access to WordPress database
RUN docker-php-ext-install mysqli

# Add Makefile to scripts dir
ADD Makefile /scripts/Makefile

ENTRYPOINT [ "make", "-f", "/scripts/Makefile" ]
This Dockerfile is based on PHP, installs the WP-CLI utility and has a Makefile as the entrypoint. We now have a working WP-CLI that allows to manipulate WordPress from the command line. Next step will be to make the WordPress installation without any click, but with script instead.
Let’s define that new Makefile for that:
docker/wordpress/toolbox/Makefile
WP_CLI=wp-cli --allow-root

install: configure

configure:
	@echo "⚙️ Configuring Wordpress database..."
	@rm -f wp-config.php
	$(WP_CLI) core config \
		--dbhost=${WORDPRESS_DB_HOST} \
		--dbname=${WORDPRESS_DB_NAME} \
		--dbuser=${WORDPRESS_DB_USER} \
		--dbpass=${WORDPRESS_DB_PASSWORD} \
		--locale=${WORDPRESS_LOCALE} \
		--skip-check

	@echo "⚙️ Configuring Wordpress parameters..."
	$(WP_CLI) core install \
		--url=${WORDPRESS_WEBSITE_URL_WITHOUT_HTTP} \
		--title="$(WORDPRESS_WEBSITE_TITLE)" \
		--admin_user=${WORDPRESS_ADMIN_USER} \
		--admin_password=${WORDPRESS_ADMIN_PASSWORD} \
		--admin_email=${WORDPRESS_ADMIN_EMAIL}

	$(WP_CLI) option update siteurl "${WORDPRESS_WEBSITE_URL}"
	$(WP_CLI) rewrite structure $(WORDPRESS_WEBSITE_POST_URL_STRUCTURE)
I defined a WP_CLI constant at the top of the file, that makes it easy to call wp-cli in each task and that automatically adds the --allow-root option to the command making it convenient to use. This option is required as the command is run in a Docker environment.
Everything is configured by WP-CLI:
- Database settings (
wp-config.phpgeneration). - URL and title of website.
- URL structure.
Running the automatic setup
Let’s add an other Makefile at the root of the project:
WORDPRESS_TOOLBOX=docker-compose run --rm wordpress_toolbox

start:
	docker-compose up -d --build

stop:
	docker-compose stop

wordpress_install: start
	$(WORDPRESS_TOOLBOX) install

wordpress_configure:
	$(WORDPRESS_TOOLBOX) configure

clean: stop
	@echo "💥 Removing Wordpress..."
	@rm -rf wordpress
	@echo "💥 Removing Docker containers..."
	docker-compose rm -f
🚀 We are now ready to launch!
Let’s run this command first at the root of the project:
make wordpress_installThis command is to be run only one time (don’t worry, if you execute it again, you will just get a message telling you that WordPress is already installed).
Now run this command (that can be run again if needed):
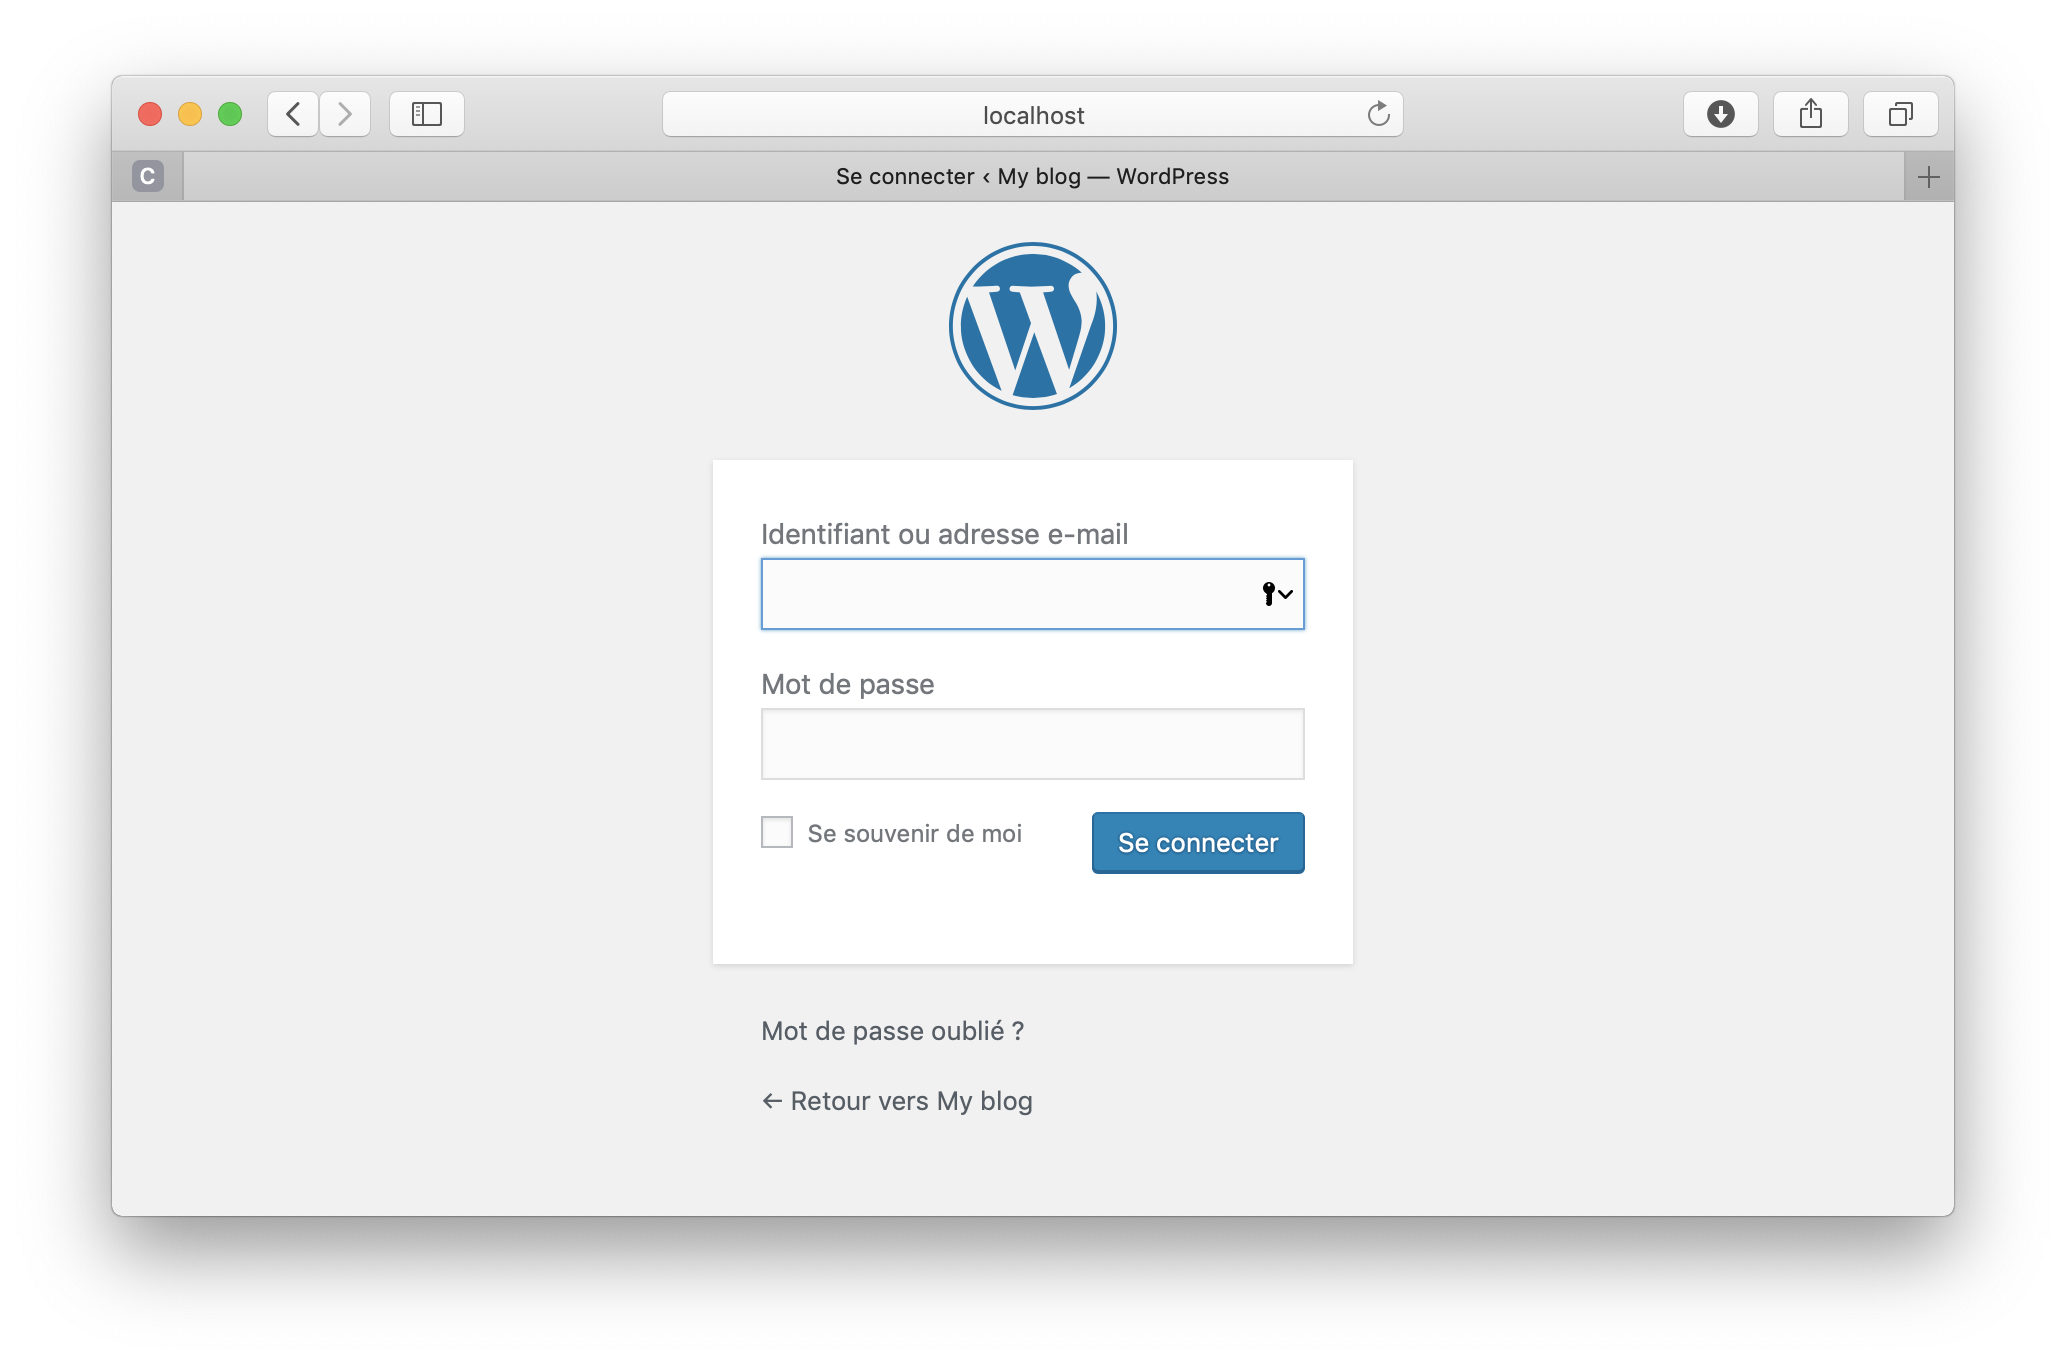
make wordpress_configure🎉 Congrats, WordPress is now up and running! Just open your browser and head to http://localhost and http://localhost/wp-admin
You can now just run the following commands to stop and start:
make stop
make start
In the next articles, we are going to automatically configure plugins and use WordPress as a headless CMS.